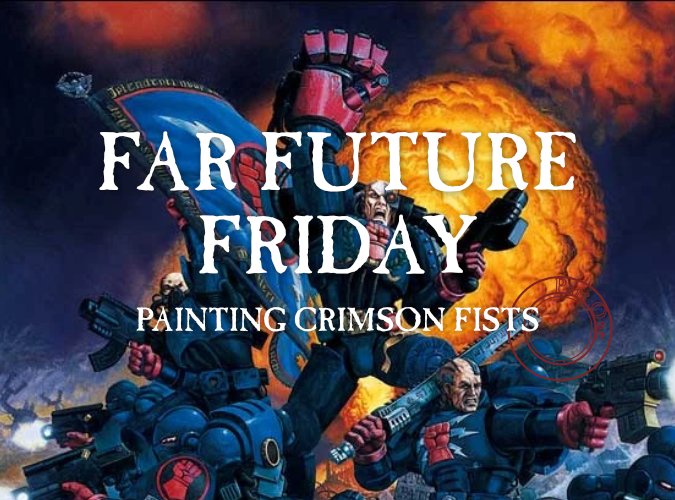
Welcome to Far Future Friday, where I take a crack at painting different sci-fi miniatures in 15mm - and show you how to, too! Today’s post centers on the Crimson Fists, 40k’s original poster boys, as seen on the cover of Rogue Trader and the third edition Space Marine codex. Although I never really picked a Chapter when I played 40k, I decided on Crimson Fists for this initial 15mm Friday because of the awesome sculpts of Pizzagrenadier. I’m using his Bad Ass Tyrant’s War Beakies (scaled up to 15mm) for all my Marines for when I play 15mm 40k.
The paints
When it comes to painting Crimson Fists, you’ll need only a handful of paints: a blue for the armor, a gunmetal to undercoat the bolter casing/magazine, and a red for that trademark crimson fist.
For the blue, we’re attempting match Games Workshop’s Kantor Blue. For this, I use Golden’s Pthalo Blue (Red Shade) from their High Flow Acrylics range as a more cost-effective option - a dropper bottle of Pthalo Blue is $14.75 USD for a 4oz/118mL bottle, while a pot of Kantor Blue is $4.55 USD for a 12mL pot.
You have a couple options for the gunmetal: I typically AK Interactive’s Gun Metal, but you could also use any other silver metallic (or even a dark warm grey like Pro Acryl’s aptly named Dark Warm Grey).
The crimson color can be anything from Army Painter’s Crimson Hand Red to a standard Alizarin Crimson from the acrylics aisle. I used Golden’s Napthol Red Light.
The process
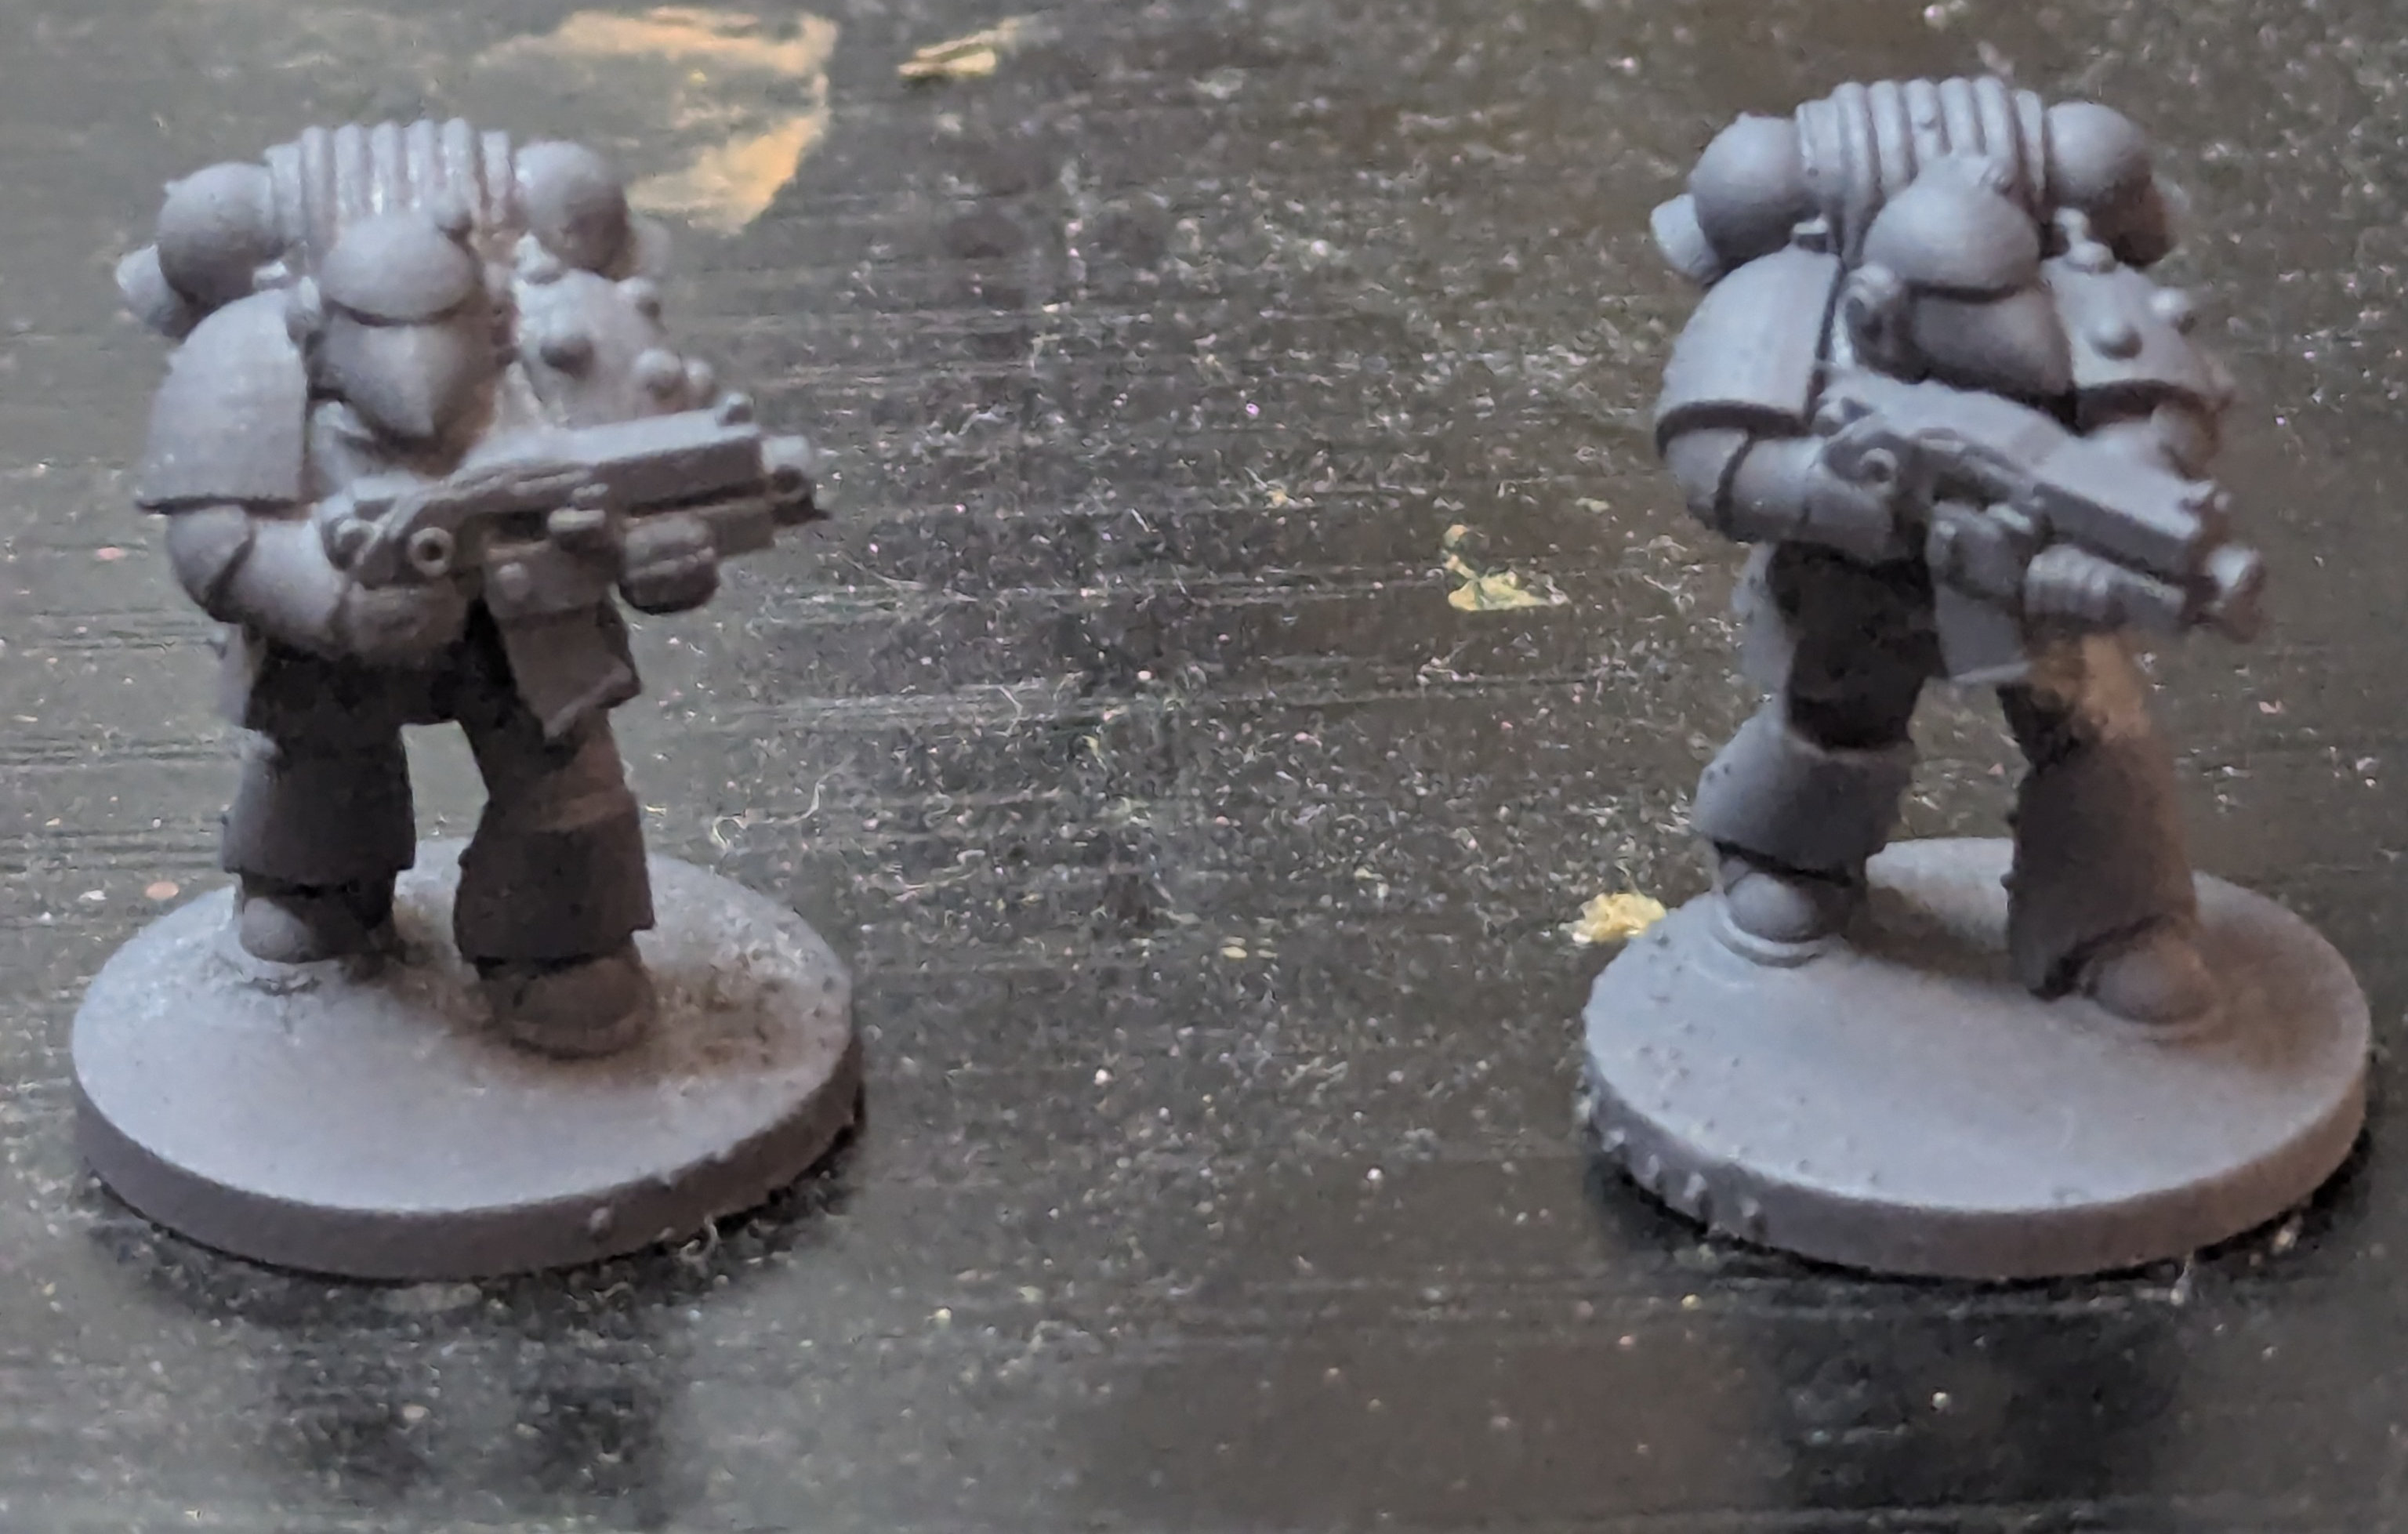
Start from a grey primer. If I’m priming with a rattlecan, I use Colour Forge’s Standard Grey. If I’m using an airbrush to prime, I use Stynylrez’s standard grey primer.
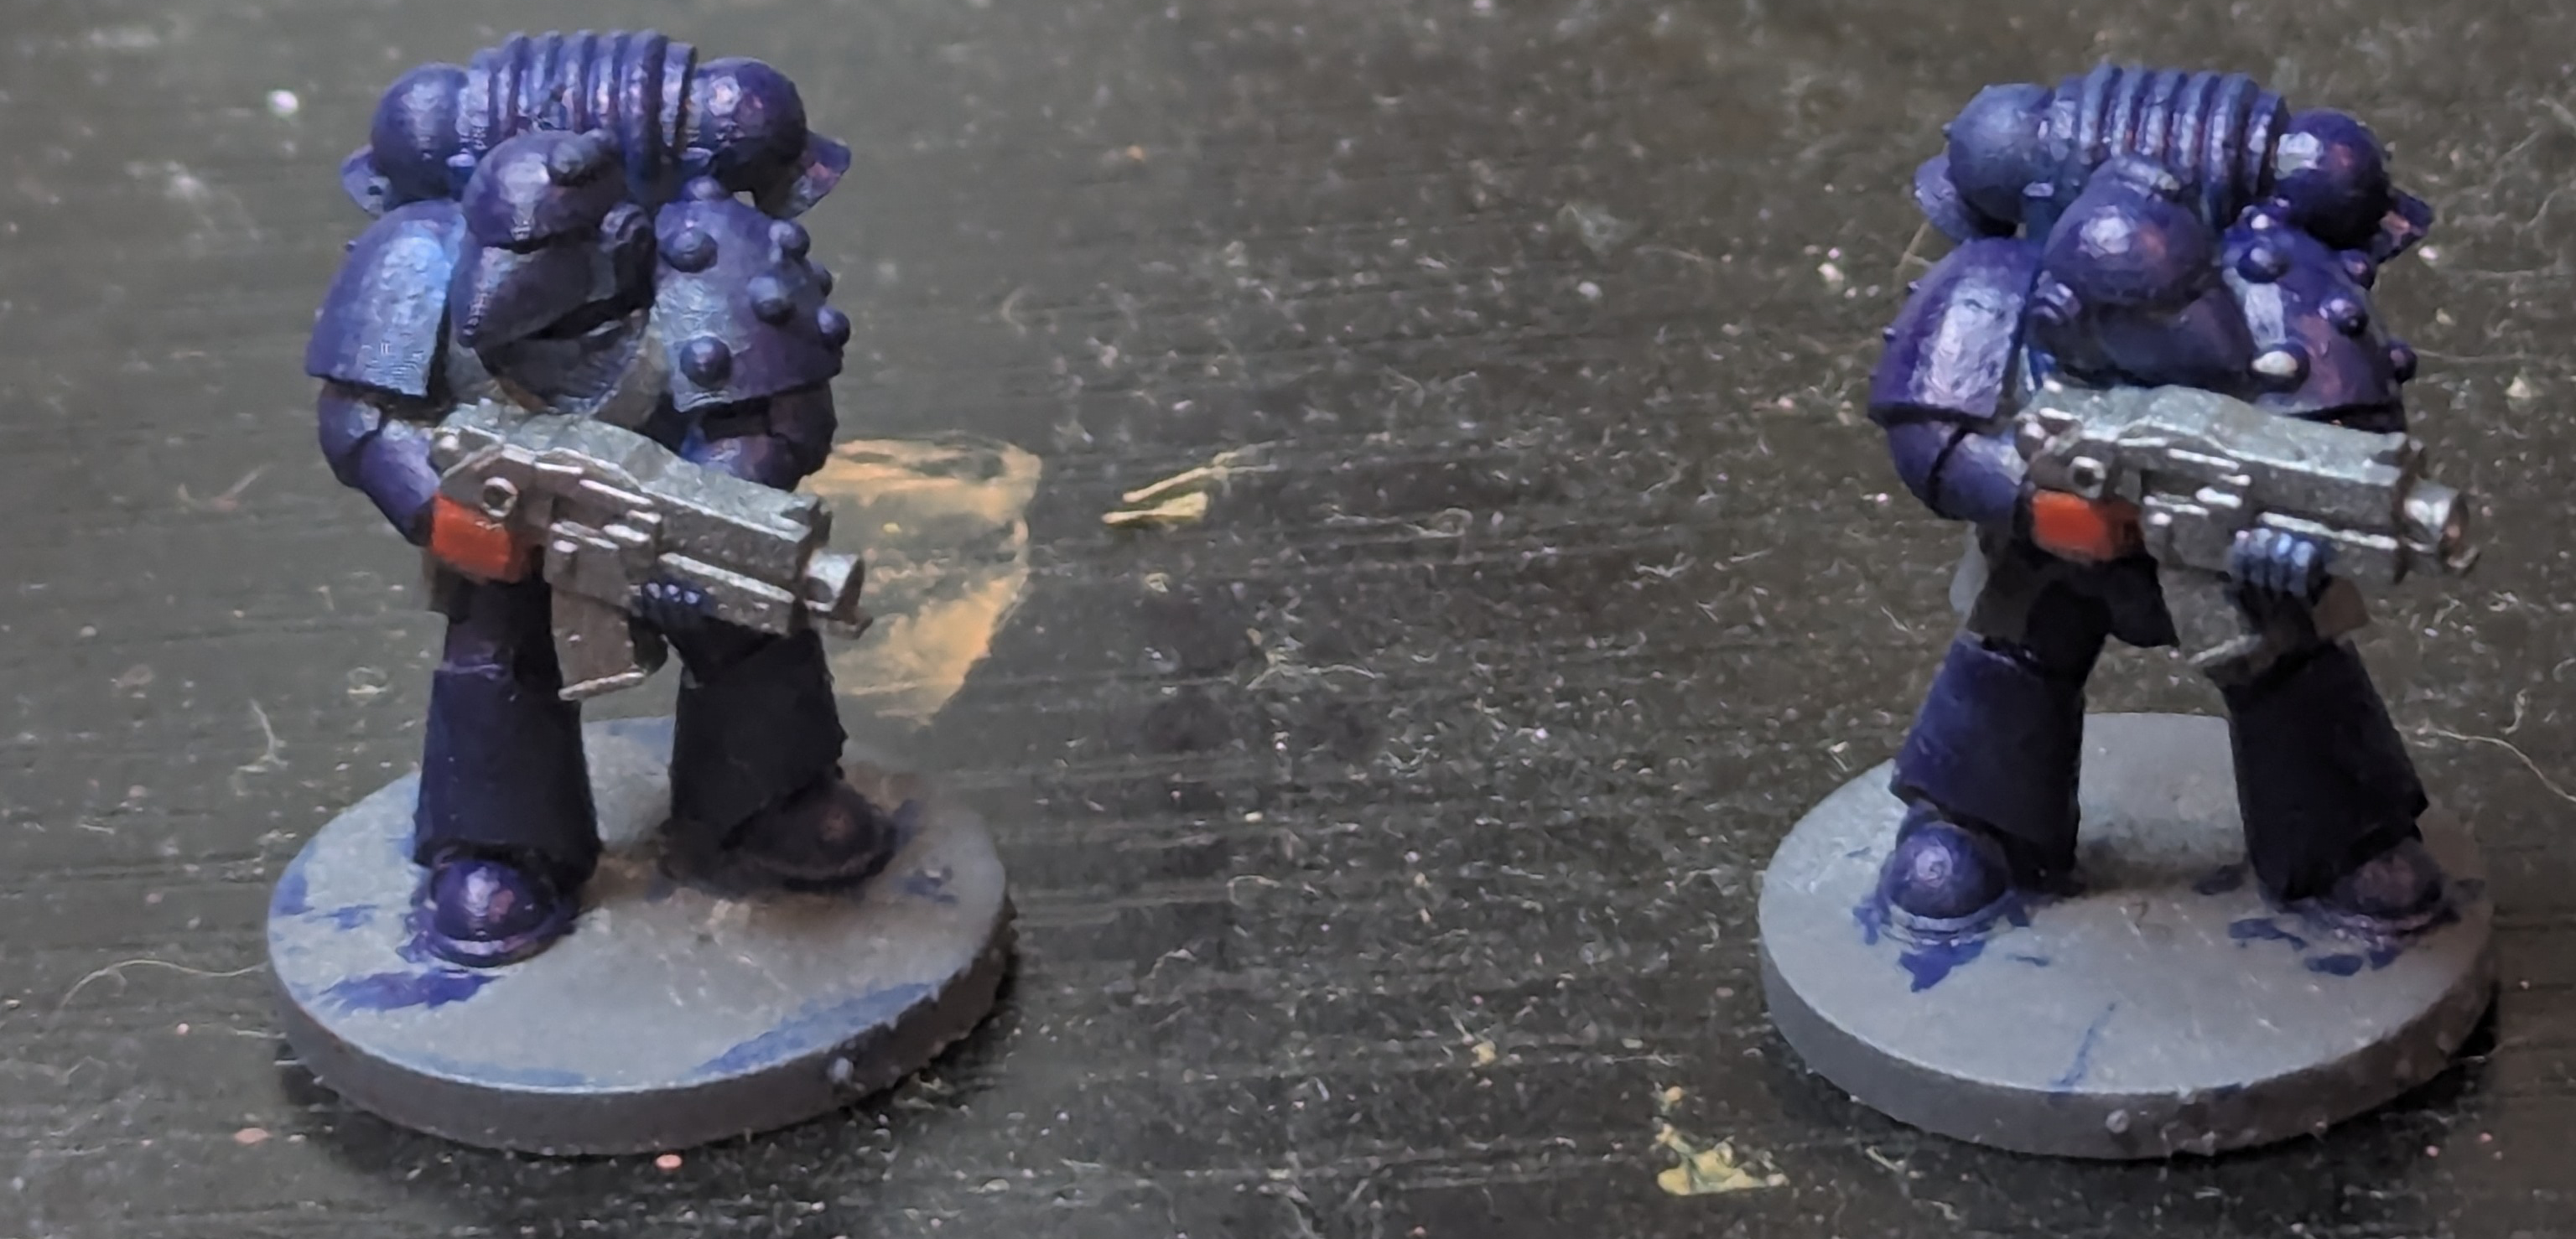
From there, basecoat the entire model with Pthalo Blue (Red Shade), except for the hands, pouches, grenades, bolter casing, and any visible cabling. Don’t worry too much if you get paint on any of the aforementioned areas - we’ll be going over them with other paints anyway. Especially don’t worry if you’re using an airbrush for this step, because you will get paint in areas that you don’t mean to.
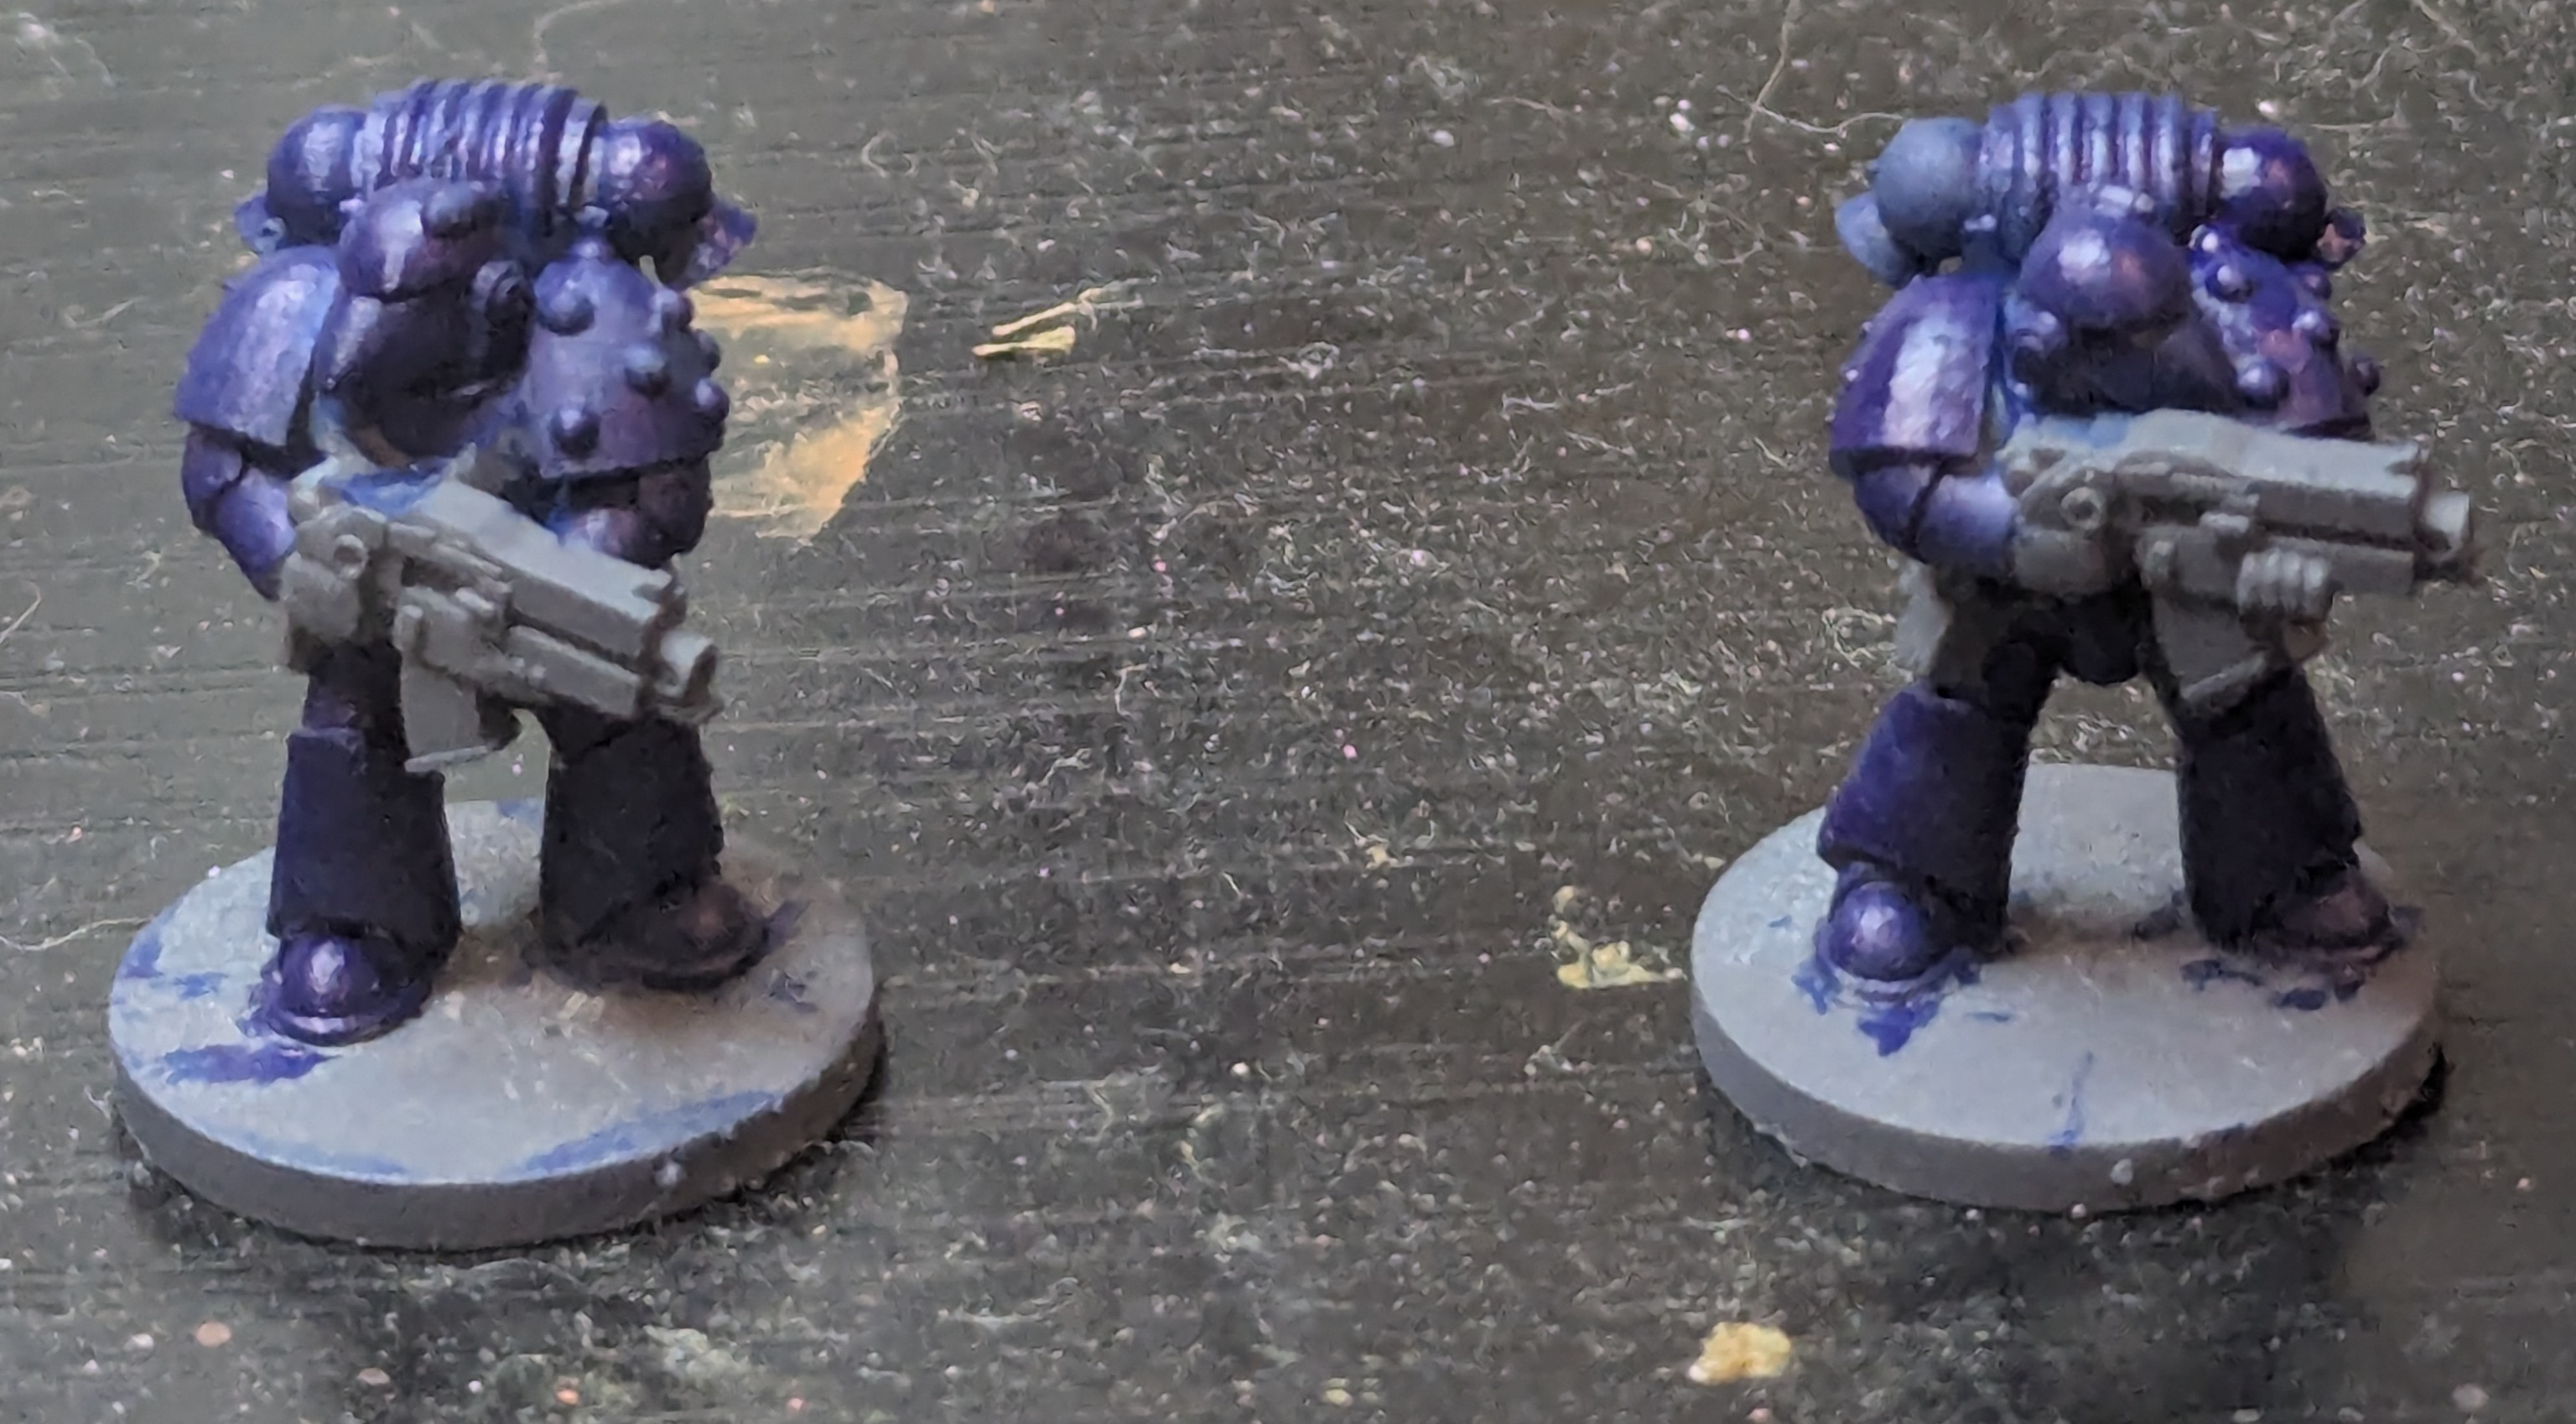
Paint the bolter case in your preferred gunmetal color. If you feel like being extra fancy, you can repaint over everything except the magazine, the ejection port and the little front divot in a warm grey color to simulate the fact that there’s a plastic/metal case overtop of the bolter’s innards.
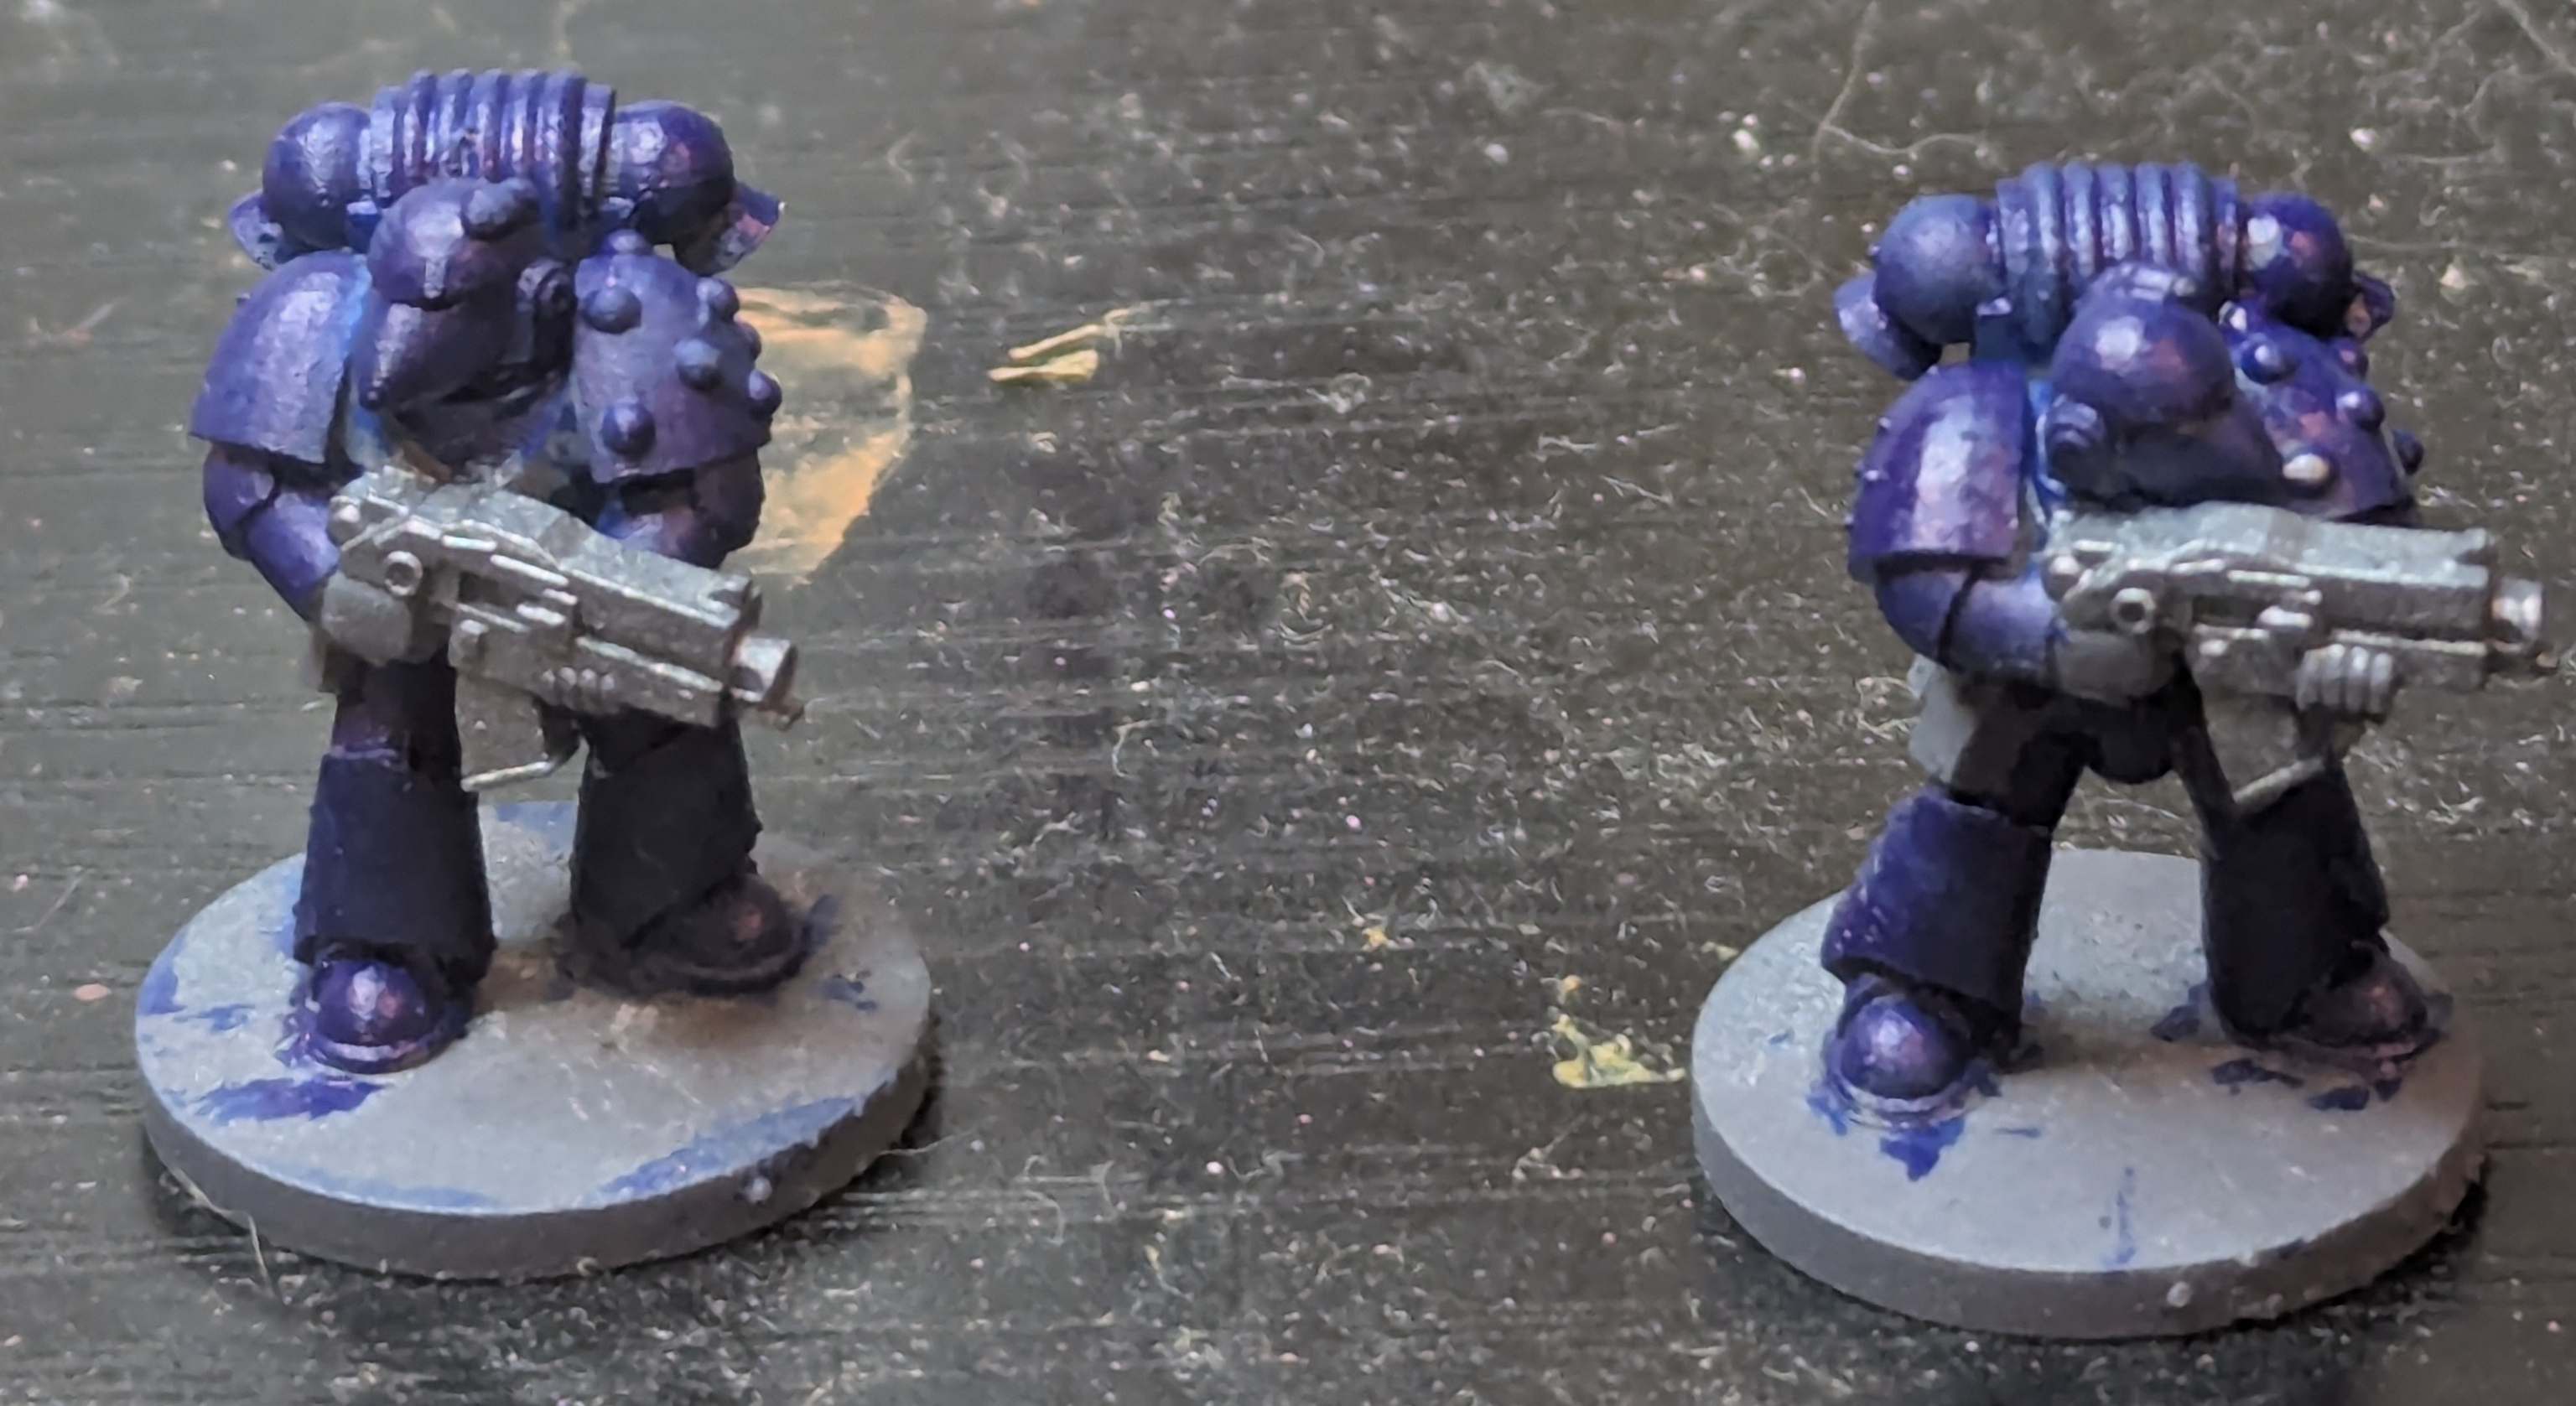
If you’re painting non-veteran Crimson Fists, paint only the left hand red. If you’re painting veterans, paint both hands red.
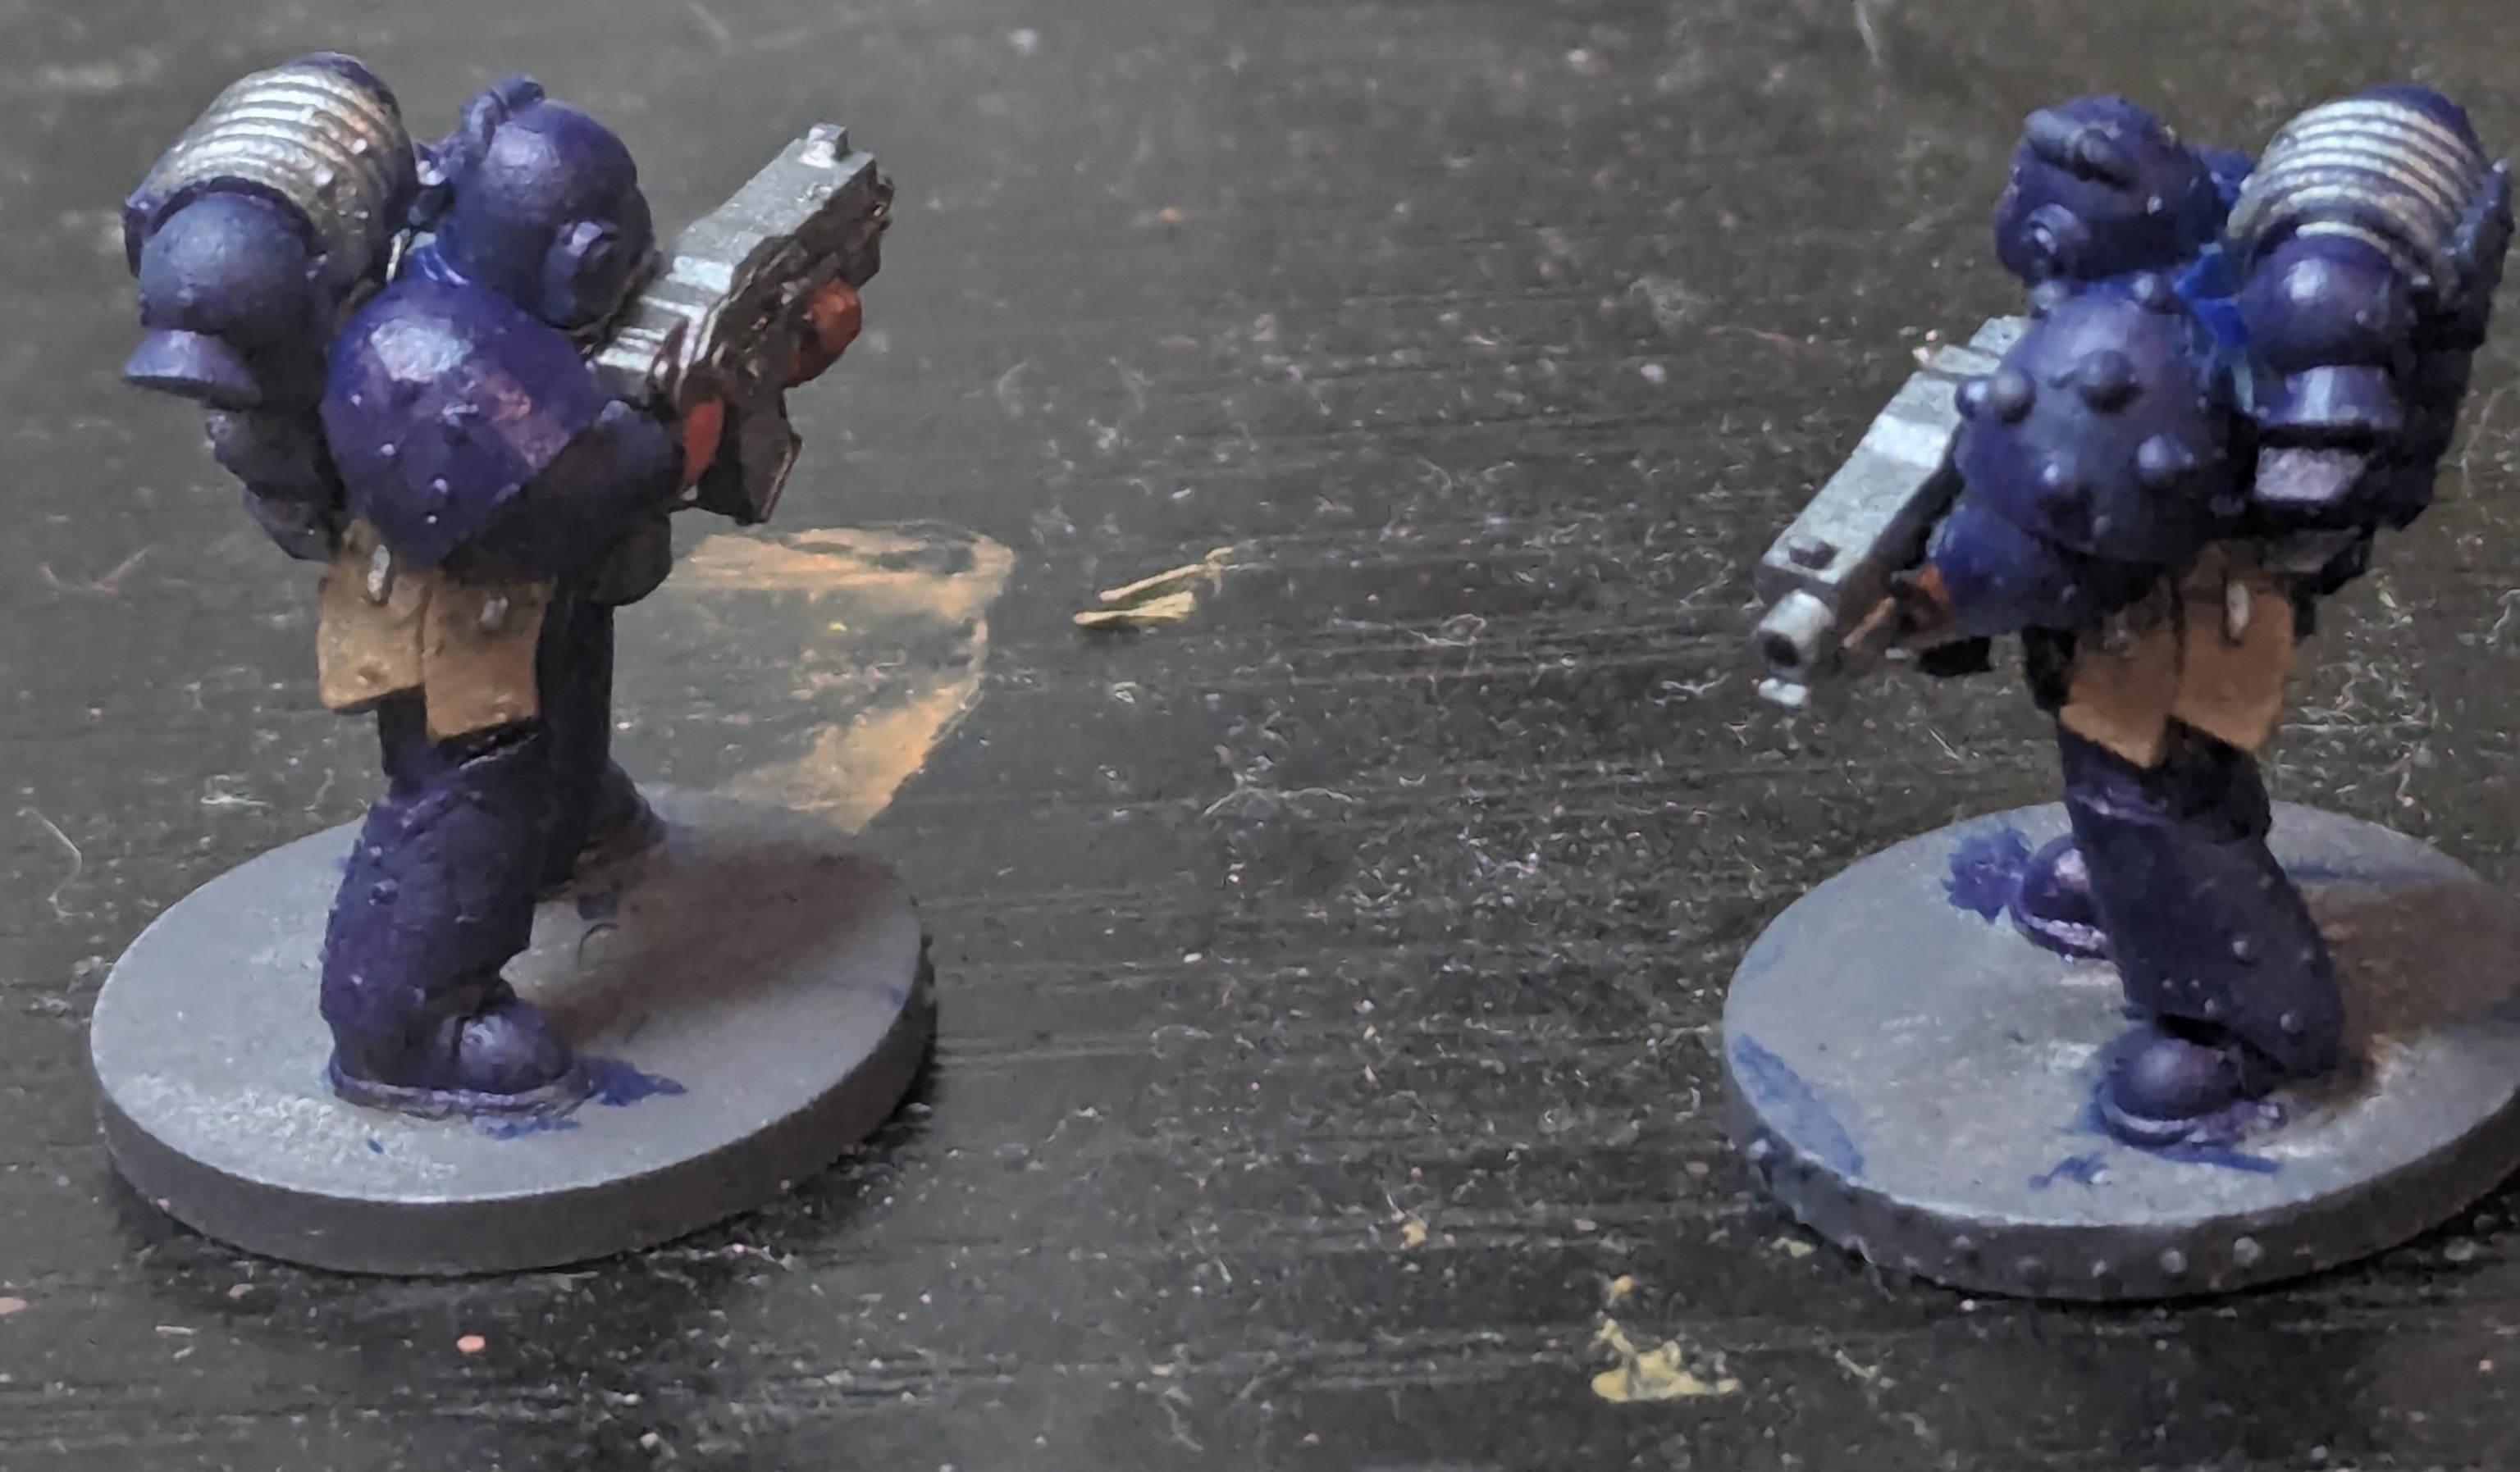
Paint the pouches using a light brown/leather brown color (I think I used Army Painter’s Leather Brown), and then paint in the pouch buckles using the same gunmetal color you used for the bolter. Paint any fragmentation grenades on the marine’s belt using a medium or dark green. I used AK Interactive’s Medium Green.
Drybrush the coils on the back of the backpack with the gunmetal, as well.
When it comes to basing, I went for as simple as possible. A quick coat of Army Painter’s Dirt Spatter on the base and the rim makes for a simple enough base. If you want to go fancier (not really needed at this scale, IMO), you could paint on some PVA/white glue and flock the base with some static grass and rocks.
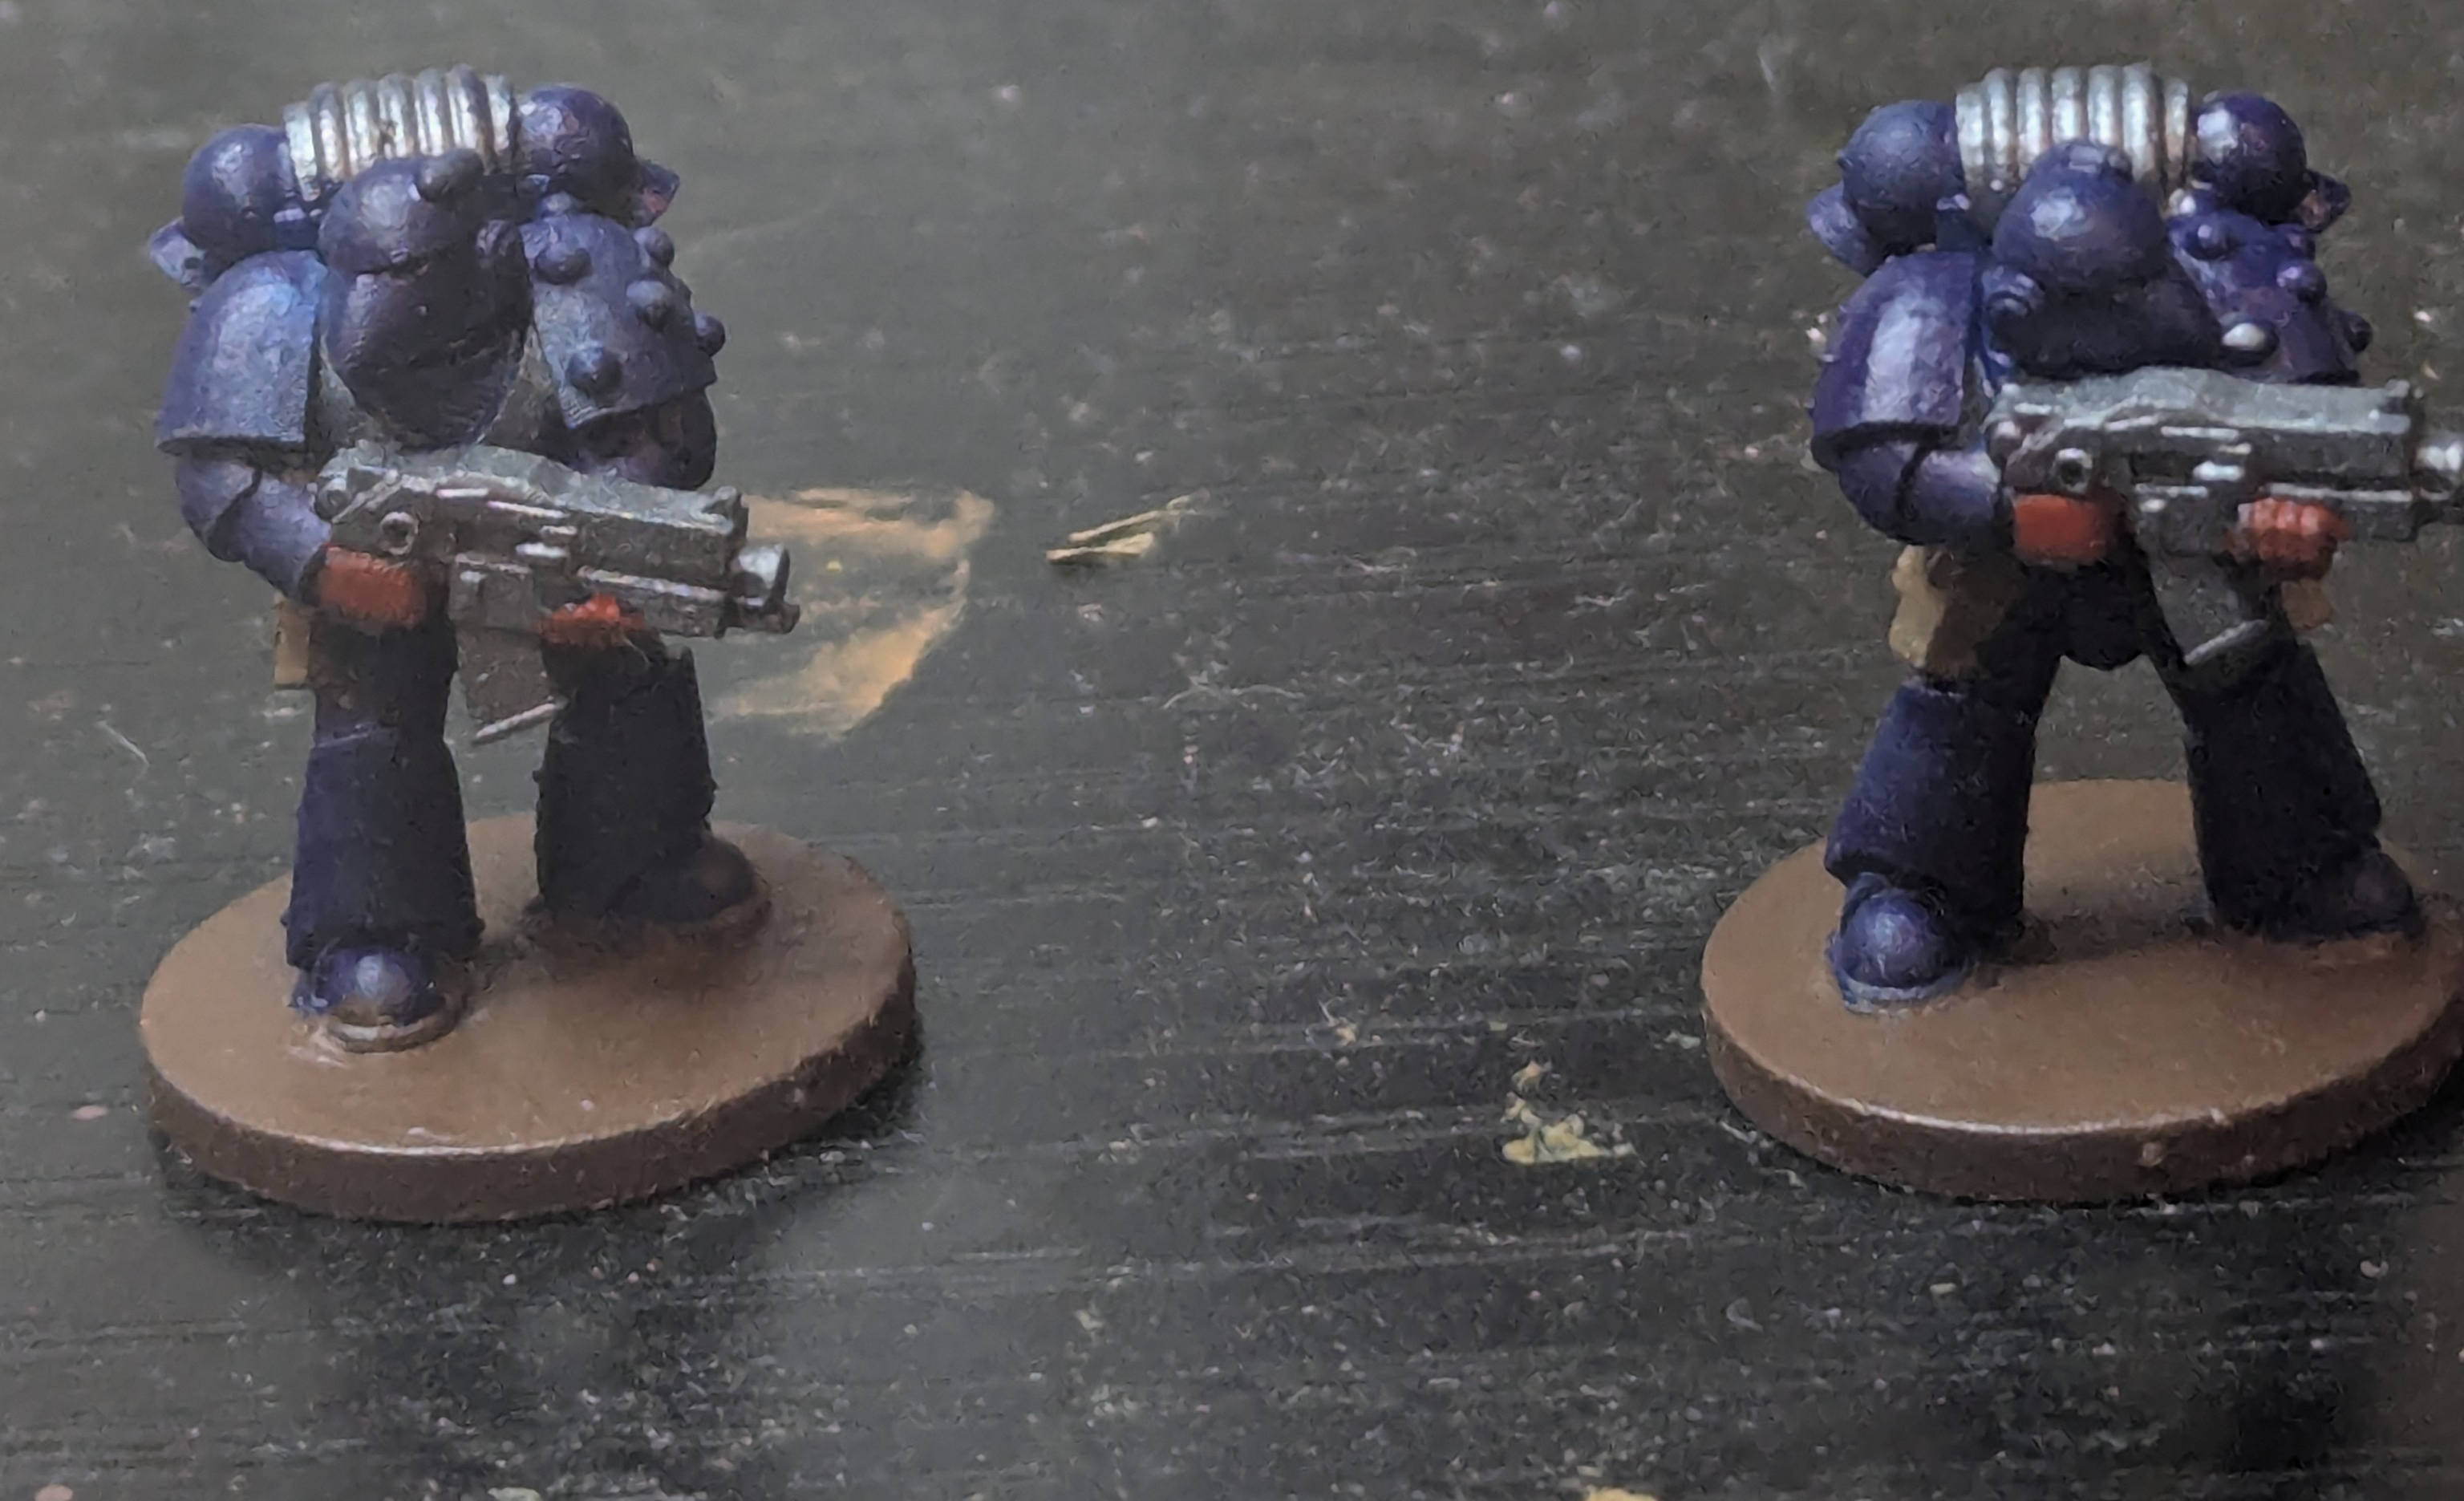
And that’s it, our Crimson Fists are done. These two guys took me about 20 minutes total for both of them, so it would be pretty easy to get a whole squad done in an evening - especially if you batch painted or used an airbrush.
Hopefully this tutorial helps you get your Crimson Fists army on the table faster!
Happy painting!
